
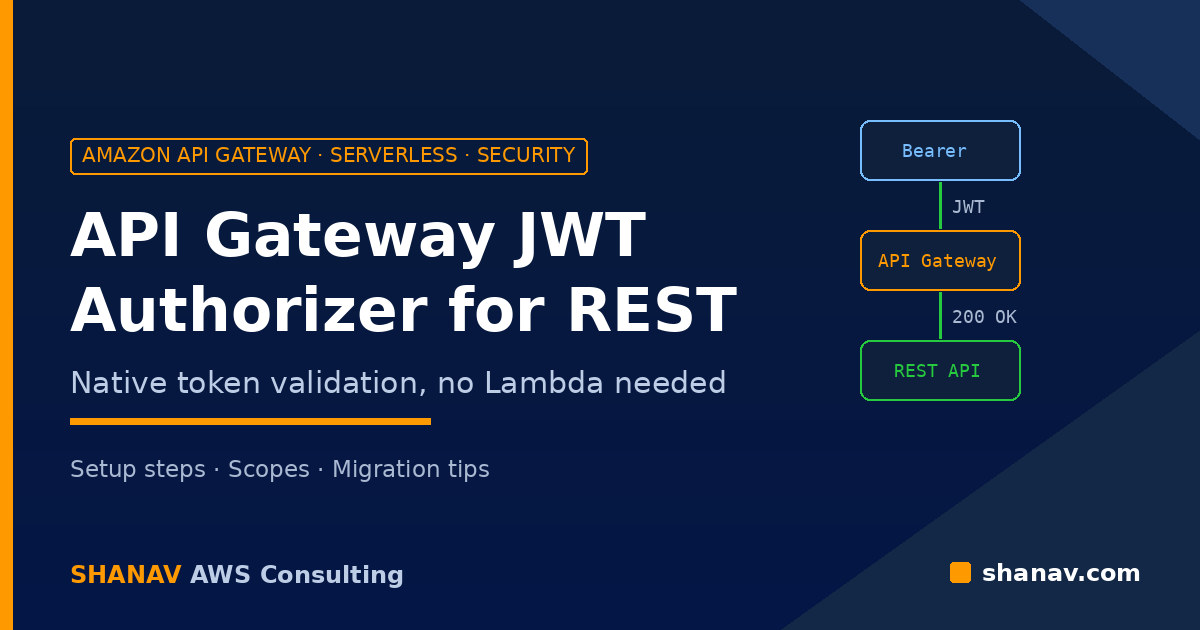
On 17 November 2026, AWS announced that Amazon API Gateway REST APIs now support JWT authorizers. If you have ever written a Lambda function just to download an identity provider’s signing keys, verify a token and return an IAM policy, this launch is for you.
Until now, the built-in authorizer for REST APIs only understood Amazon Cognito tokens. Teams using Okta, Auth0, Microsoft Entra ID or any other OpenID Connect (OIDC) provider had to build and run a custom Lambda authorizer. HTTP APIs already had a native JWT authorizer, so REST API users were left writing glue code. This guide explains what the new API Gateway JWT authorizer does, how to set it up, and how to move off a Lambda authorizer safely.
What Is the API Gateway JWT Authorizer for REST APIs?
According to the API Gateway Developer Guide, a JWT authorizer validates JSON Web Tokens inside the gateway itself, so you do not run a function to check tokens. You declare:
- The issuers you trust (one to ten per authorizer).
- The audiences you accept from each issuer.
- The signing algorithms you allow: RS256, RS384, RS512, ES256, ES384 or ES512.
- Optional additional claim rules, such as requiring
departmentto equaleng.
Each method can then require its own OAuth scopes. One authorizer can protect many methods, with GET /orders needing orders:read and POST /orders needing orders:write, for example. The feature works on Regional, edge-optimized and private REST APIs, in all commercial AWS Regions and the AWS GovCloud (US) Regions.
How Token Validation Works
The AWS Compute Blog launch post describes the checks API Gateway runs on every request, in order:
- Read the bearer token from the header you set as the identity source (usually
Authorization). - Match the token’s
issclaim to a configured issuer. Unknown issuers are rejected before any network call. - Check the signing algorithm and verify the signature against the issuer’s public keys, found through OIDC discovery and cached.
- Check the audience plus the expiry and not-before times (with 60 seconds of allowed clock skew).
- Check the
scopeorscpclaim if the method requires scopes. - Evaluate any additional claim rules, then pass the validated claims to your integration.
Processing stops at the first failure. A missing, malformed, expired or untrusted token gets 401 Unauthorized. A valid token that lacks a required scope or fails a claim rule gets 403 Forbidden. If API Gateway cannot reach the issuer’s key endpoint and has no cached keys, it returns a 5xx instead of letting the request through.
JWT, Cognito or Lambda Authorizer: Which Should You Use?
Based on AWS’s own guidance:
- JWT authorizer: best when you only need token validation from one or more OIDC/OAuth 2.0 providers, including Cognito user pools. No function in the request path.
- Cognito user pool authorizer: still useful when you want to accept tokens from any app client in a user pool without listing each client ID.
- Lambda authorizer: still the right tool for custom logic, token introspection, revocation checks or credentials that are not JWTs.
In our experience, most Lambda authorizers we review do nothing more than verify a JWT and check a scope. Those are ideal candidates to replace: one less function to patch and monitor, and one less invocation in the request path.
Step-by-Step: Set Up a JWT Authorizer on a REST API
These steps follow the AWS walkthrough using the latest AWS CLI.
Step 1: Prepare your identity provider
In your IdP, create an API (or resource server) with the scopes you need, such as orders:read and orders:write, register your client apps and note the issuer URL and audience. Copy the issuer exactly as it appears in a decoded token’s iss claim, including any trailing slash. Auth0 issuers, for example, end with /.
Step 2: Create the authorizer
Describe the trusted issuers in a JSON file and create the authorizer with the new JWT type:
cat > jwt-config.json <<EOF
{
  "issuers": [
    { "issuer": "${ISSUER}", "audiences": ["${AUDIENCE}"] }
  ],
  "defaultAlgorithms": ["RS256"]
}
EOF

aws apigateway create-authorizer \
  --rest-api-id "$API_ID" \
  --name orders-jwt \
  --type JWT \
  --identity-source method.request.header.Authorization \
  --jwt-configuration file://jwt-config.json
API Gateway checks each issuer’s discovery document at creation time. If your provider signs with elliptic curve keys, add ES256 to defaultAlgorithms.
Step 3: Attach it to methods with scopes
Set each method’s authorization type to JWT, point it at the authorizer and list the scopes it requires:
aws apigateway put-method --rest-api-id "$API_ID" \
  --resource-id "$RESOURCE_ID" --http-method POST \
  --authorization-type JWT --authorizer-id "$AUTHORIZER_ID" \
  --authorization-scopes orders:write
Step 4: Deploy and test the failure cases first
Authorizer and method changes only take effect after a new deployment, so run create-deployment to a test stage. Then try a request with no token (expect 401) and a read-only token against a write method (expect 403) before you test the success cases.
Step 5: Define it as code
For production, keep the authorizer in infrastructure as code. In CloudFormation, the AWS::ApiGateway::Authorizer resource has a JwtConfiguration property, and methods set AuthorizationType: JWT with AuthorizationScopes. OpenAPI definitions use the x-amazon-apigateway-authorizer extension with type: jwt. This fits well into an existing serverless delivery pipeline.
Migrating from a Lambda Authorizer
AWS says you can convert an existing Lambda or Cognito authorizer in place with one update-authorizer command that changes the type, sets the JWT configuration and clears the old fields. A safer rollout looks like this:
- Audit what your Lambda authorizer really does. If it calls a database or checks a deny list, keep it.
- Check where your backend reads claims. Mapping templates read
$context.authorizer.claims.name, and Lambda proxy integrations get them inevent.requestContext.authorizer.claims. Custom context from your old authorizer will be gone. - Add a second issuer during IdP migrations. Because one authorizer can trust several issuers, you can accept tokens from the old and new provider at the same time, then remove the old one later.
Limits and Gotchas to Know
- No revocation checks. A token stays valid until it expires, so use short lifetimes for sensitive operations.
- Key caching. Signing keys are cached for about 60 minutes, so a key you remove at the IdP can still verify tokens for that long.
- Public issuer required. The discovery document and key set must be reachable from the internet, even for private APIs.
- Entra ID client credentials. These tokens carry permissions in
roles, notscope, so scope checks will not match. Use a dedicated audience per caller or a Lambda authorizer. - The
kidheader is required. Some providers omit it by default. HMAC (HS256) andalg: nonetokens are always rejected.
Also note that data trace logging masks the Authorization header but not custom headers, so keep it off if your token arrives in something like X-Token. Reviewing settings like this is a standard part of our AWS security reviews.
FAQ
Do I still need a Lambda authorizer for Okta or Auth0 tokens?
Not for plain token validation. Any OIDC provider that publishes a discovery document at /.well-known/openid-configuration works. Keep Lambda for custom logic.
Can one REST API accept tokens from multiple identity providers?
Yes. One authorizer can trust up to 10 issuers, each with up to 100 audiences and up to 10 additional claim rules.
What is the difference between a 401 and a 403?
A 401 means the token is missing, malformed, expired or from an untrusted issuer. A 403 means the token is valid but lacks the required scope or fails a claim rule.
Does it work with private REST APIs?
Yes, but the issuer’s discovery document and keys must still be publicly reachable.
Simplify Your API Security
The API Gateway JWT authorizer removes one of the most common pieces of glue code in serverless architectures. For many teams it is a quick win, but details like issuer strings, scopes, key rotation and claim mapping still matter. If you would like help reviewing your API authorization or planning a migration from Lambda authorizers, get in touch with the Shanav team.